How to Build a Spooky Scarecrow
Building a scarecrow as a Halloween decoration can be a fun and creative project! Here’s a simple step-by-step guide to help you make a spooky scarecrow.
Materials Needed
- Old clothes (flannel shirt, pants, hat)
- Straw, hay, or shredded paper (for stuffing)
- A stick or wooden pole (for the frame)
- Twine or rope
- Scissors
- Glue or sewing kit (optional)
- Accessories for decoration (buttons, gloves, mask, fake spider web, etc.)
- Face mask or pumpkin for the face (optional)
How to Build a Spooky Scarecrow
1. Create the Frame
- Use a sturdy wooden pole or stick as the main support
- Attach a crossbar near the top for the arms, if desired
2. Dress the Frame
- Put on the clothes over the frame, starting with the pants and shirt
- Tie the shirt and pants at the waist with twine or rope to keep them in place
- For the arms, stuff the sleeves with straw or shredded paper and tie the ends, or attach gloves filled with straw for hands
3. Stuff the Clothes
- Fill the body and arms with straw, hay, or shredded paper to give it shape
- Secure the stuffing with twine or sew the openings shut
4. Create the Head
- Use a pumpkin, a paper ball, or a mask to make the head
- Decorate the face with paint, buttons, or fabric for eyes, nose, and mouth
- Attach the head to the top of the pole with twine or hot glue
5. Add Accessories
- Put a hat on the scarecrow’s head
- Add gloves, fake spiders, or cobwebs for a spooky effect
- Use additional decorations like scarves, jewelry, or Halloween-themed items
6. Position Your Scarecrow
- Place it in your yard or garden
- Secure it firmly into the ground if outdoors
Tips:
- Use old clothes and materials you already have to save money
- Personalize your scarecrow with Halloween themes: add cobwebs, glow-in-the-dark eyes, or spooky accessories
- For extra spookiness, add a lantern or LED lights inside the head or body
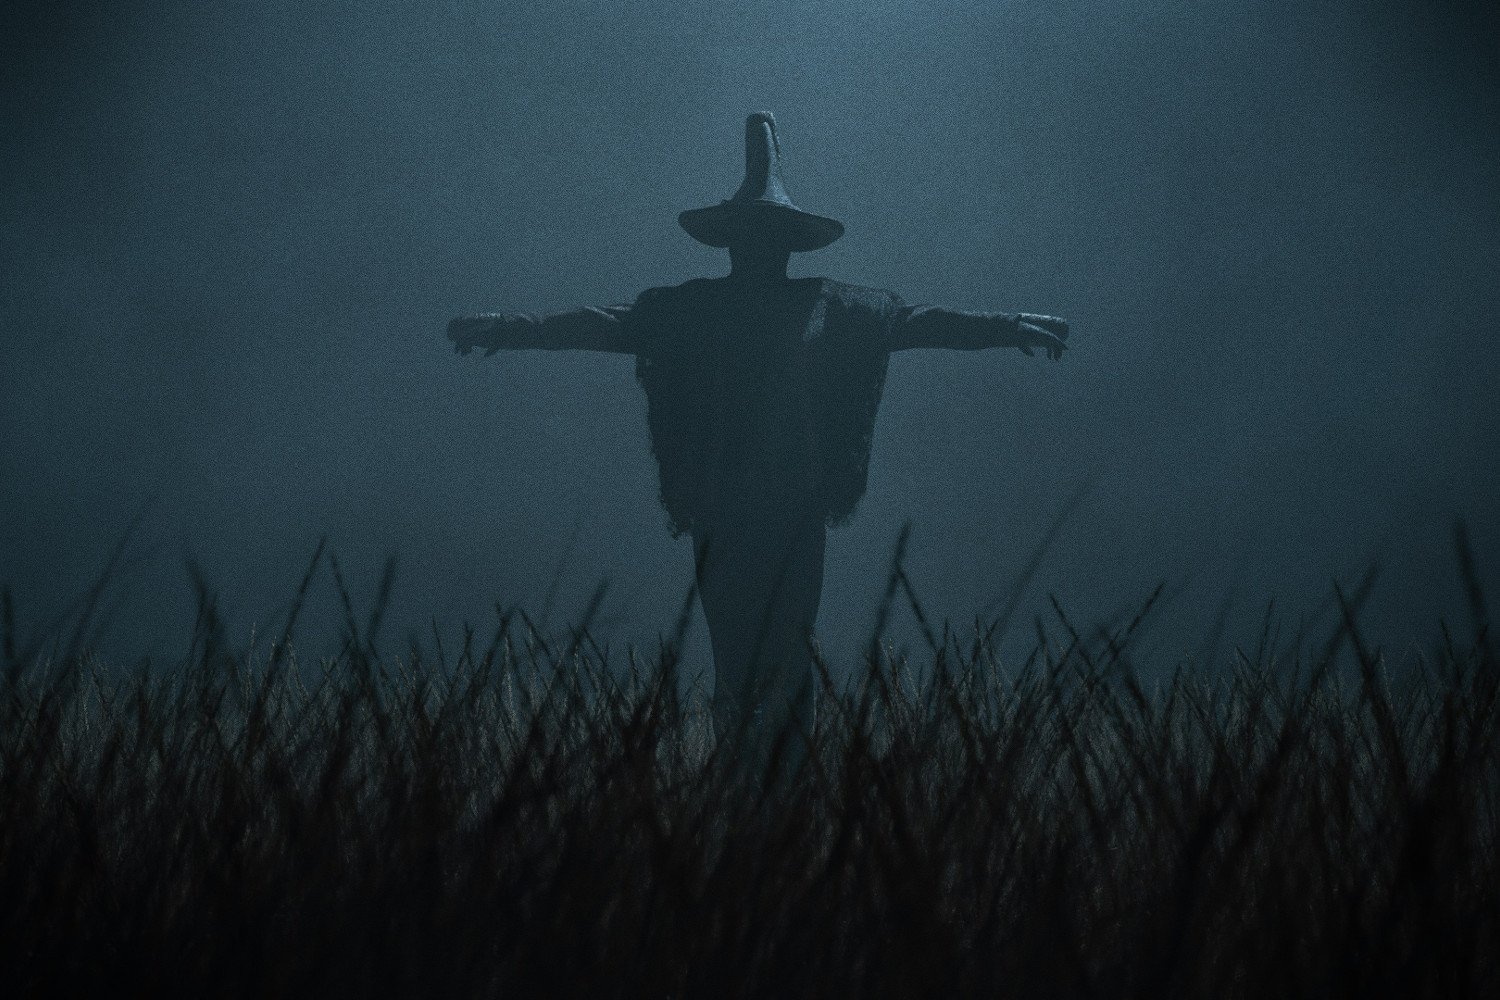
Image by Robin Mikalsen / Unsplash